Monday, May 13, 2013

The Bigger the Better

I love little girls.  They make me happy.  And one of my all time favorite things, is to see a big, huge bow or flower on a baby girl's head.  I'm talking, bigger than her face, strengthening her neck muscles, massive head piece people!  I can't get enough of them.  However, when purchased at a cute baby boutique, they can get quite pricey...especially the cute ones.  So in order to still provide the little sweet ones in my life with fabulous barrettes without braking the bank, I like to make my own!  It's super easy, and they make amazing gifts!

Here is a step by step tutorial on how I make flower headpieces for my favorite little ones:
**Sorry if the pictures are random.  I decided half way through the project that I needed to take pictures if I wanted to blog about it!

What you need:

  • Big, fun flowers (I like to buy them at Hobby Lobby on half off!)

**The flowers I used this time had embellishments already built into the centers!  If you want to add that part yourself, it's pretty simple too.

These are not the actual flowers I used.  I forgot to take a "Before" picture

  • circle felt pads
  • silver barrette clips (I like to use the ones that have dual pin and barrette option


  • Hot Glue gun
  • Headbands, beanie, etc. (Whatever you want the flowers to connect to)


Process:
1. Pull the flower top off the base of the stem.  (It should pop right off!)  Some flowers are tougher than others.  If necessary, use wire cutters...but it shouldn't have to come to that.
If there are wires or an extra piece of plastic, either bend the wires up around the flower base, or cut the plastic off.  You want the base at the back of your flower to be as flat as possible.

2. Hot glue a felt pad to the base of your flower, where you removed the stem.  If your surface is still a little uneven, glue another felt pad on top of that one, to give you a semi-flat base.
3. Hot glue the barrette base onto the felt pad

4. If the petals of your flower are flimsy, or seem to be coming apart in layers, simply go through each layer, and put a small dot of hot glue here and there in order to make sure the flower will always be "perky" (for lack of a better word :).  You may want to glue the layers not only at the base but near the top of the petals as well.  Just be sure not to go too heavy.  You don't want the hot glue to show.


5. At this point, if you want to add some fun rhinestones or embellishments to the flower, glue them onto the center.

Then, you are finished!

Now...if you want to really "Wow" the recipient of these one of a kind, awesome, head pieces, here's a tip:
instead of buying a gift bag, buy a fun hat box!  Hobby Lobby has tons of stylish options ranging anywhere from $5.00-15.00 (I bought a precious $5.00 one for this gift!)

To line your hat box, you can either purchase "filler" OR, use my new method.

Today I forgot the filler for my gift, but I had some old, wrinkled tissue paper...So I decided to do the following:
 Take wrinkled tissue paper and flatten it out.  Then, begin to fold it.
Once folded a few times, cut the seams.

 Fold a few more times, then cut the seams again.
 At this point you have a thick stack of squares
 Cut strips about 1 cm. thick until you have a big pile of shredded paper to use as filler.  
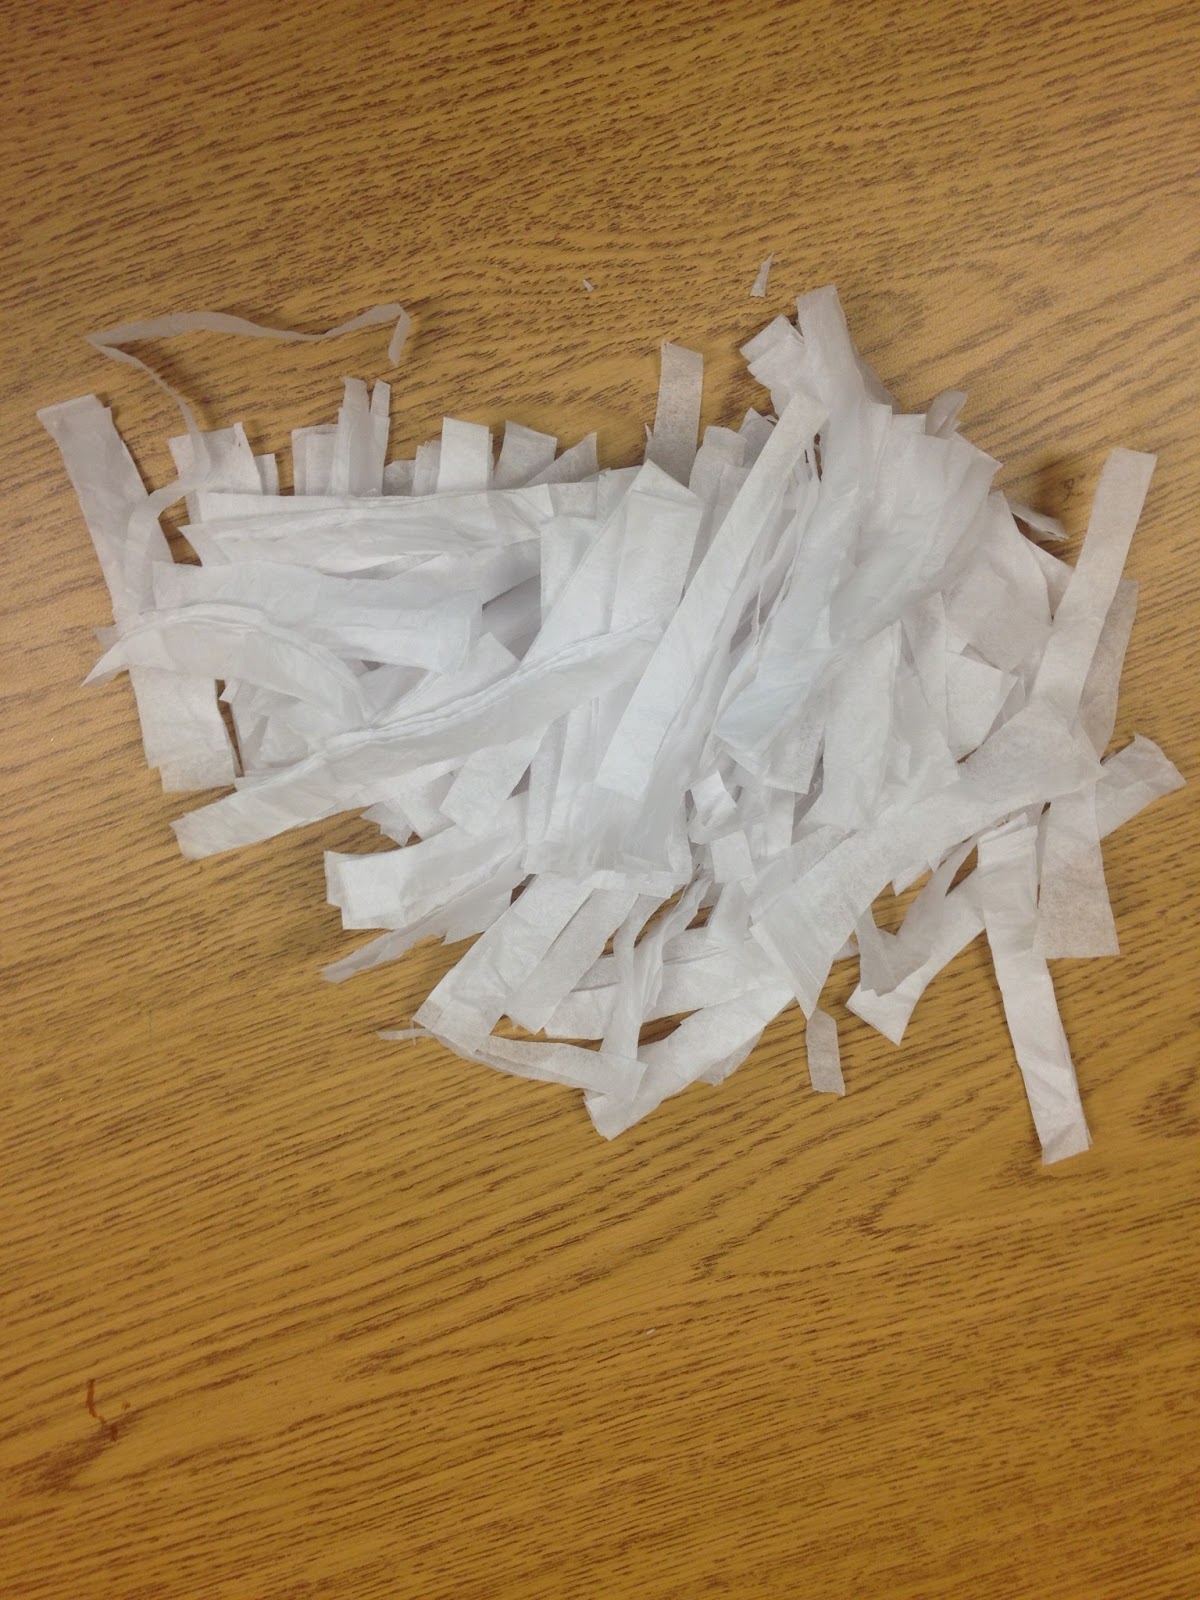
I used white, because the hat box was bright colors.  You can use any fun color of tissue paper though!

Fill your hat box with tissue paper strips, then arrange head-pieces neatly 


And...Voila!  A beautiful gift to give to your favorite baby girl!  


Wednesday, May 8, 2013

Practice What You Preach...

While deciding on the name for this little journal of mine, I was trying to think of words that really describe me.  The word "spontaneous" kept coming to mind, so I looked up the definition to read the true meaning, and this is what I came across:

spon·ta·ne·ous  

/spänˈtānēəs/

Adjective
  1. Performed or occurring without premeditation or external stimulus.
  2. (of a person) Having a natural, and uninhibited manner.


Yep.  Nailed it.  I feel like "Spontaneity" (yes, I had to use spell-check to get that one right) could be my middle name.  I'm the queen of seeing a fun idea or event, and without thinking, just going for it! Sometimes it gets me in to trouble, but those are the moments that we remember in life...right?


You know, I'm a huge fan of blogs.  From cooking to decorating, traveling to pregnancy blogs (no mom..I'm not pregnant), I love them all.  I am also religious about keeping up with some of my dearest, most hilarious friends through their blogs...and even some people that would probably think I'm creepy because I stalk their blogs so much.  Many of my conversations start with, "Hey I was reading so-and-so's blog, and..." or "There is a great idea for that on what's-her-name's blog..."  So, I've decided it's time to jump on the bandwagon, practice what I preach, and start my own!  Here it goes, y'all!

Honestly, there is never a dull moment around here...so I'm hoping to fill this blog with all of the wonderful memories we make.  My main goal is to document all of our exciting travels, as well as fun decor ideas, DIY projects, recipes...OK, so my blog is quite possibly going to be as spontaneous and A.D.D as I am!  Hopefully you will enjoy the ride as much as I do :)


Here are some fun pics of our little family to start us off on the right foot!


P.S. I'm aware of the fact that my font is lacking.  The teacher in me has kept me from publishing this blog for 2 weeks, just because I couldn't figure out how to change the ugly font!  (I mean, seriously, why are there only like 5 font options?!?  Can't blogger get together with Kevin and Amanda at kevinandamanda.com and give us some fonts with more personality?!?) Whew, now that I got that off my chest... just bear with me.  Hopefully I will figure it out soon!  Until then...